
How to Remove a Chain-Link Fence
Ready to remove that old fence? Our guide covers all you need to know, step by step. Find out about the best tools and techniques for a smooth, hassle-free fence removal.

SONCO Safety Marketplace, June 5, 2024
Read more about the author
There are several reasons for removing a chain-link fence. You may be giving your house and yard a facelift and want to change your permanent fence, or you might need to move temporary fence panels from one project to the next.
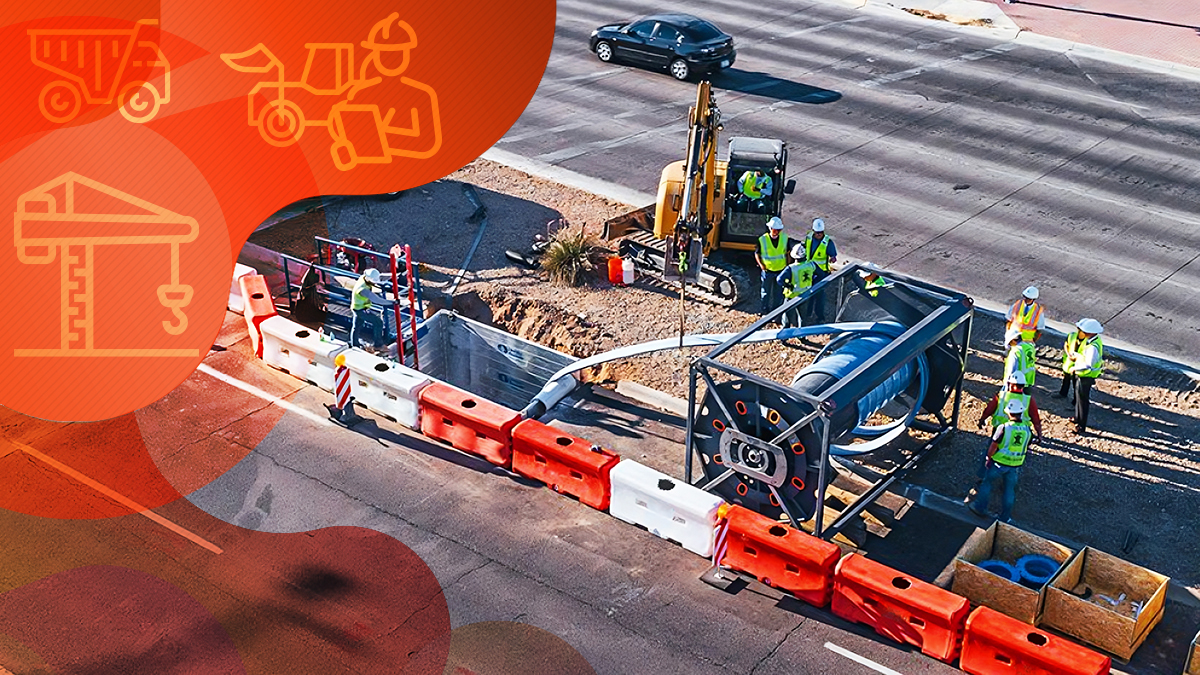
In our DIY fence installation guide, we discuss two main types of fences: mesh and panel. Each has its own perks. Mesh fences are great for long-term use, offering durability. Panel fences, on the other hand, are more flexible and are often used for temporary projects like construction sites or events.
Whatever the case, removing the fence is part of the process. This can be a somewhat labor-intensive task, but it is doable with the right tools and some know-how. Removing a chain-link fence can be an interesting DIY project that gives you a great sense of accomplishment.
If you're planning this for your next DIY project, here’s everything you need to know about removing a chain-link panel or mesh fence.
How to remove chain-link fence mesh?
These steps will walk you through removing chain-link fence mesh. Remember to wear appropriate safety equipment and make sure you wear it while you are taking down your fence.
Gather your tools
You will need some tools for removing the fence. This includes:
- Wrench
- Fence pliers
- Wire grippers
- Mallet
- Shovel
- Heavy work gloves
You may want to rent a post puller or farm jack to remove the posts, especially if they are embedded in concrete.
Prepare the area
You need a somewhat flat area on one side of the fence so you can lay the mesh on the ground. This will also make it easier to roll up the mesh. Clear a space at least 2 feet wider than the mesh fabric's height.
If space is a problem, you can roll the mesh while it is standing, but it is more difficult.
The rolled-up fence mesh will be heavy so try to clear a path for a wheelbarrow or dolly.
Safety Gear and Plant Protection
Removing chain-link mesh can scratch your skin. Pieces of clipped metal can fly into your eyes. Before you get started, make sure you're dresses in long pants and a long-sleeved shirt. Wear heavy work gloves and eye protection throughout the process.
If there are trees or bushes near your work area, trim them or tie them up to get them out of the way. Any smaller plants should be covered with a bucket or inverted hard material planter.
If a tree has grown through the fence and you want to keep the tree, you can cut the fence on either side of the trunk which will allow you to preserve the tree.
Remove the chain-link mesh
To start, choose a corner or end post for easier handling. These posts are typically wider and simpler to manage. The mesh is connected to the post via a tension bar secured with clamps.
- Detach the Clamps: Use a wrench to loosen the nuts and bolts holding the clamps. This won't cause the fence to collapse, but it should loosen.
- Take Out the Tension Bar: Once the clamps are removed, set them aside along with the tension bar, away from your working area.
- Removing the Mesh: Decide on the best approach for removing the mesh. If you have assistance and are accustomed to moderate labor, you can tackle around 50 feet at a time. If working solo, aim for about 20 feet. In tight spaces, consider cutting the mesh into smaller, more manageable sections.
- Unfasten the Fence Ties: Gradually remove the fence ties using fence pliers. Place them in a container as you go to prevent creating any hazards in the yard.
- Prepare for Rolling: Lay the mesh on the ground in your work area, ready for rolling either in sections or as you progress with the removal of ties.
- Breaking the Fence: When reaching the end of a section, "break" the fence by unbending one of the top link wires and tracing it to the bottom. Unbend that end as well, working the wire out of the mesh to separate the sections.
- Roll and Secure: Roll up the removed section of mesh and secure it tightly with rope or wire to maintain its shape.
- Repeat the Process: Continue removing mesh sections until only the pipes and railings remain.

Remove the fence posts and top rail
- Loosen and Remove Top Rail: If there's a cap securing the top rail to the end or corner post, loosen the nut and remove the bolt. Try separating the top rail by hand; if not, use a hand grinder or hacksaw with a metal cutting blade. For welded rails, a reciprocating saw can help cut them apart.
- Take Off Caps: Remove the caps, saving those in good condition and discarding damaged ones.
- Extract Embedded Posts: If the posts are sunk into concrete, dig below the concrete with a shovel. Start with middle posts, usually easier to remove than corner or end posts. A post puller can also be used. As a last resort, cutting the posts might be necessary.
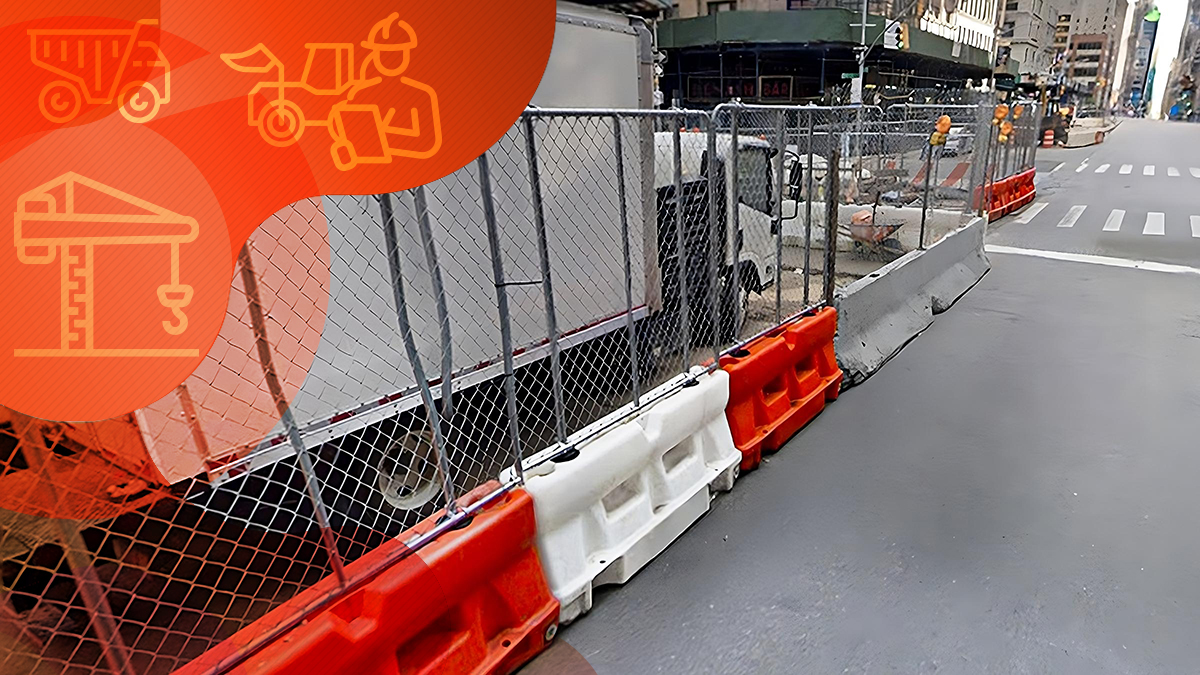
How to remove chain-link fence panels?
To remove temporary fence panels, first remove any fence covers or screens, and if there are wheel kits installed, remove those too.
Clear your work area so that you can lay the panels down if necessary. Make sure the ground is flat and firm. You don’t want to set your panels in mud or standing water. You also need even ground to work on.
Unfasten the clamps holding the fence panels together and separate them.
You may want to lay the panels down flat on the ground so you can remove any tube stands or other stabilizing features.
If you are using the Anchor Block, simply lift the panel poles out of the base. If you are using the Anchor Weight, lift the weighted base, and then lift the panel fencing from the tube stand or from the Anchor Stand.
We also recommend the use of Sollage Transport Fence Racks, so that once you remove the panel from its base, you can lay it directly on the transport rack. This will keep it clean, organized, and secure for transportation to your next location.
As no special tools or machinery are needed, removing temporary chain link fence panels is a lot easier than a permanent fence, and can be done very quickly.
Considering temporary fencing for your projects is advisable. It's simpler to install and uninstall. Explore our guide to determine if temporary fencing suits your situation.

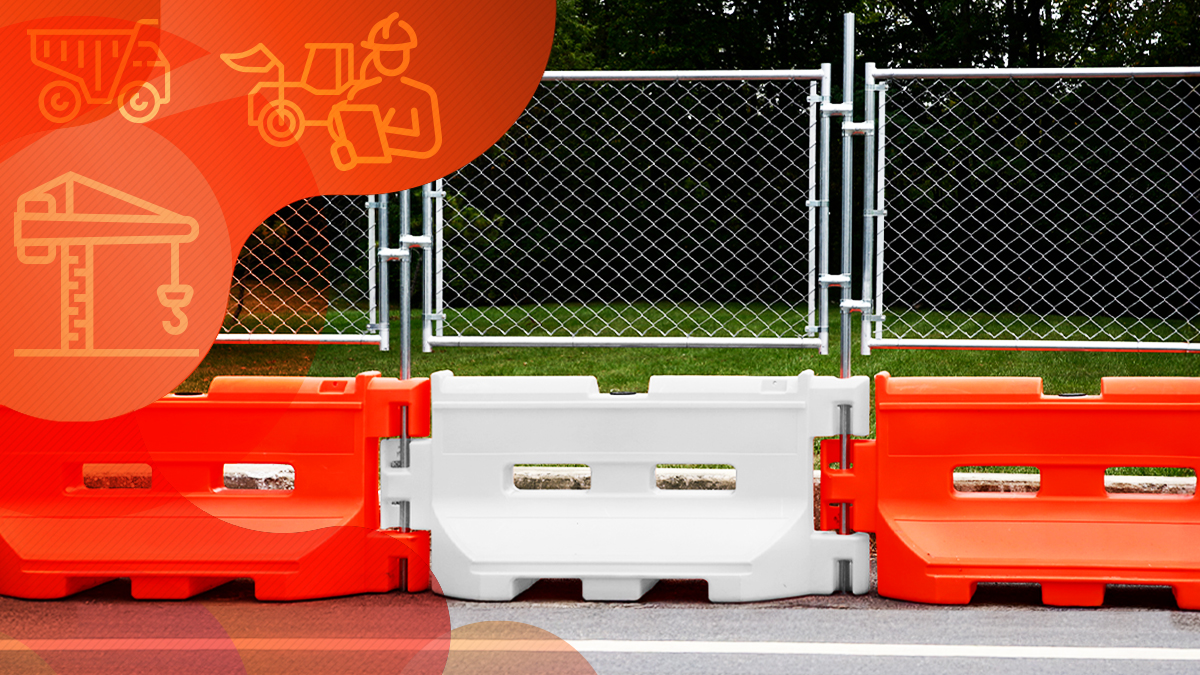
The Anchor Base Family
Make sure you use the proper weights and anchors for your fencing. Items like sandbags and concrete blocks are unsuitable and can damage your fence, increase liability, and make your perimeter less secure.
Using Anchor Bases not only makes it much easier to take down temporary fence panels, but also makes it much easier to install them and to keep them stable for much longer, even in windy environments.
The fence poles just slide into the base and slide right out when it's time to tear it down.
If you aren’t sure how to remove a fence by yourself or want a fast and efficient solution, Anchor Bases are the way to go.
You can also reuse the bases repeatedly -- the ideal solution for construction and rental companies.
Trend now
Reducing Impact Damage with Water-Filled Plastic Jersey Barriers
Understanding the effects of barrier materials on vehicles and their occupants can help improve road safety.
Choosing Between Concrete or Plastic Jersey Barriers
Not all barriers are built the same. Here’s what to know before choosing between plastic and concrete.
Advantages of Water Barriers with Fence Toppers
Learn how a fence topper transforms water barriers into a more secure, private, and effective work site solution.