
How to Install a Privacy Screen: A Step-by-Step Guide
This step-by-step guide covers everything you need to know about privacy screen installation, from materials to final touches.

SONCO Safety Marketplace, August 29, 2024
Read more about the author
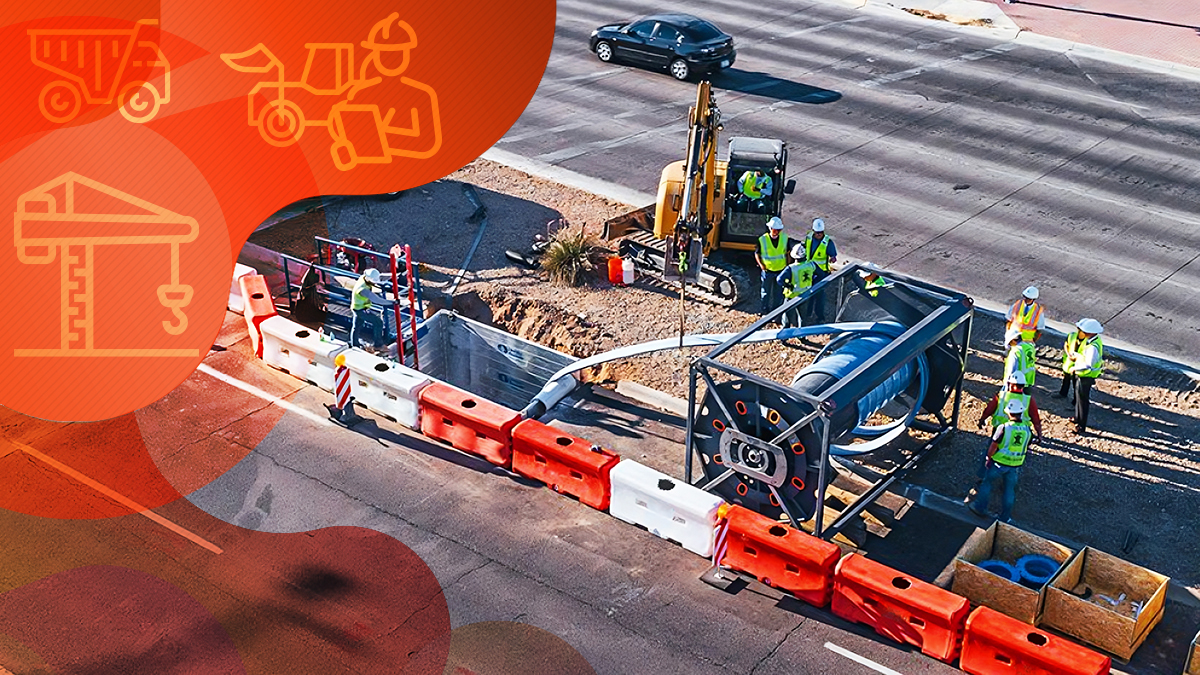
Sometimes thorough security for your job site perimeter calls for more than just a sturdy, reliable fence to control who comes and who goes. A privacy screen offers project managers an additional layer of protection against factors like wind, dust, and the prying eyes of passersby.
And if you run a rental business specializing in perimeter security and fencing, privacy screens represent a wonderful opportunity to upsell your clients. You can give them the value and protection they’re after by renting out the appropriate screens right alongside the fencing panels.
Here’s a step-by-step guide to getting the installation just right.
1. Gather the materials
When properly installed, a privacy fence screen is not only securely in place but completely free of wrinkles and gaps. Ensuring this happens helps your screen protect your perimeter from dust, dirt, wind, and the ogling eyes of potential thieves or other people moving past.
The best way to ensure a seamless privacy screen installation is to map things out in advance. Be sure to properly measure the fence, and before you begin, plan out precisely where you'll start and end.
For the best results, plan your installation for a calm, mild day that isn’t too windy. Make sure you have everything you need close at hand before you begin, 50lb zip ties, hog ring pliers, and a ladder (if screening a tall fence).
2. Do your prep work
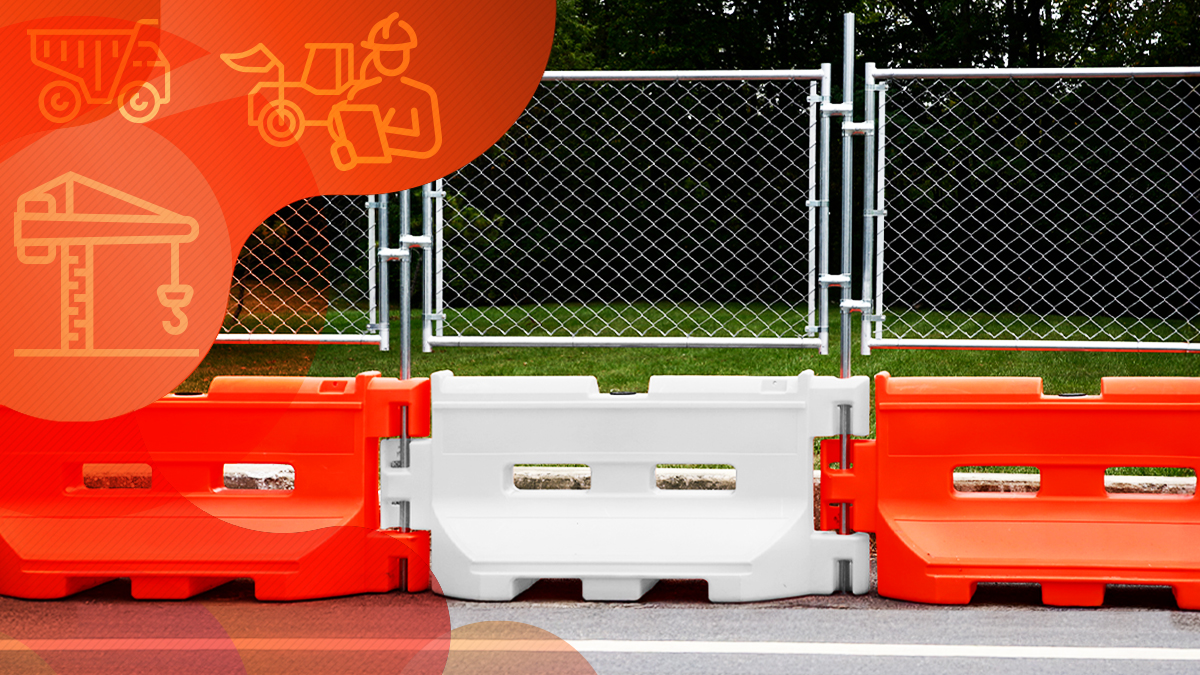
If installing the screen to a chain-link fence, take the guesswork out of keeping your screen even all the way across by choosing a line of mesh toward the top and using this as your visual line.
Remember, don't ever attach the privacy screen to the fence top-rail. Always opt for a line of mesh on the top.
Also, take care not to pull your zip ties too tightly. Too-tight ties can cause a ripple effect that will prevent the screen from lying as flat as it should.
3. Line up the edges
Line up the top edge of your privacy screen with the row of mesh you chose as your visual line in the previous step.
Line up the left-hand side of the screen with the fence’s tension bar. Add a zip tie in the top corner to secure your position.
Add another zip tie to the same grommet, to secure the screen to the tension bar. It should form a backward L-shape with the first zip tie from the previous step.
Use zip ties to attach any additional corner grommets to the fence.

4. Secure the left-hand side
Continue using zip ties to attach the rest of the left side of the screen panel to the tension bar. Ensure the screen material stays straight and even by using the tension bar as a visual guide as you work.
5. Secure the top of the panel
Once you’re sure the left-hand side of the screen is straight and properly secure, continue attaching the top edge of the screen, using your chosen visual line from step one as a guide. Continue angling your zip ties all the way across using the same method you used to secure the first one.
6. Use teamwork to secure the bottom
The easiest, simplest way to ensure a perfect privacy screen installation is to have a second person handle the task of securing the bottom. As the top person moves along, using the fence mesh as a visual guide, the bottom person should follow about five feet behind.
As the top person progresses, the bottom person should smooth out the screen to remove wrinkles before attaching the bottom of the screen with zip ties. Again, be careful not to pull the ties too tightly.
7. Secure the end of the panel
When you reach the end of the panel, make another L-shape in the corner with two zip ties, just as you did on the left-hand side. Then use additional zip ties to secure the right-hand side all the way down. Repeat these steps with each additional fence panel until you’re done.

How Long Does It Take to Install a Privacy Screen?
Installation time may vary from one situation to another. There’s the size of the fence to consider, the complexity of the screen you chose, and whether you’ll be installing the fence on your own or with another person’s help.
But on average, it takes anywhere between a few hours and a day to install a fence screen from start to finish.
To help speed things along, enlist a partner. And never rush the installation or cut corners. Always allow adequate time to plan, measure, and run through the installation steps properly.

How to Choose the Best Privacy Screen
The best privacy screen will depend on the available options and the needs of the perimeter’s owner. These are some key factors to consider when you're shopping.
Screen color
Privacy screens come in a range of different colors, including black, bronze, brown, and various shades of green. Going with a darker color makes it easier for those inside your perimeter to see out without allowing passersby to see in. It also reduces glare.
Desired privacy level
How much privacy do you need your screen to bring to the table? Privacy screens come in a variety of different blockage levels – everything from total blockage that doesn’t allow any light through to loosely patterned screens.
Generally, the higher the blockage level, the less wind will pass through and the more privacy you'll get for your buck. However, you also want to relieve at least some of the possible wind tension.
Around 80-85 percent is a good blockage balance that will perform both functions adequately.
And for sites located in windy areas, it’s recommended that you choose screens with cut-outs that can help relieve wind pressure.

Screen style
Privacy screens often come in a variety of different styles, as well. Simple screens are very popular for job site protection, but some options include different types of detailing.
Just keep in mind that more intricate designs may require a higher density level to achieve optimal detail in images.
Making the most out of temporary fence rentals
Most construction projects are required by federal and municipal regulations to have temporary fences around their perimeters, creating a high demand for temporary fence rentals.
If you are already renting fences to your customers, consider adding privacy fence screens to your portfolio. By selling privacy screens and offering installation services, you can charge extra and significantly increase your revenue.
For example, consider this scenario:
- You are renting out 1,000 linear feet of perimeter fencing at a low price of $1.80 per linear foot per month, totaling $1,800.
- If you sell the same customer 1,000 linear feet of privacy screen for $1.50 per linear foot, it would add an additional $1,500.
- Adding the installation cost of $1.20 per linear foot brings in an additional $1,200.
Instead of earning $1,800 from your rental client, you'd be earning $4,500 in that month, plus any potential maintenance charges if the perimeter remains for an extended period.
This represents a 150% increase compared to renting only the fence panels.
To learn more about temporary fence rentals, check out our list of must-have items you need to get your business off the ground and start bringing in recurring revenue fast!
Trend now
Reducing Impact Damage with Water-Filled Plastic Jersey Barriers
Understanding the effects of barrier materials on vehicles and their occupants can help improve road safety.
Choosing Between Concrete or Plastic Jersey Barriers
Not all barriers are built the same. Here’s what to know before choosing between plastic and concrete.
Advantages of Water Barriers with Fence Toppers
Learn how a fence topper transforms water barriers into a more secure, private, and effective work site solution.